Hanging Planters
Hanging Planters

Designing a Stylish Garden Layout with Hanging Planters
Introduction
Welcome to our guide on creating a stylish garden layout with the addition of hanging planters. Enhance your outdoor space by incorporating hanging planters into your garden design. These versatile containers not only add beauty and charm but also help maximize space and create a lush green environment.
Step 1: Choose the Right Location
Identify suitable areas in your garden where you can hang planters. Consider spaces with ample sunlight and good air circulation for optimal plant growth.
Step 2: Selecting Plants
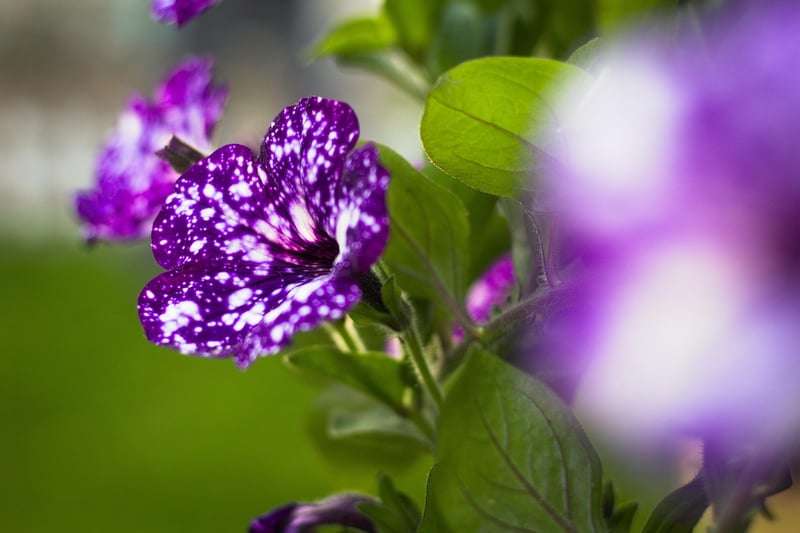
Choose a variety of plants that thrive in hanging planters such as cascading vines, colorful flowers, and herbs. Ensure the selected plants have similar light and water requirements.
Step 3: Installing Hanging Planters
Install sturdy hooks or brackets in the chosen locations to hang your planters securely. Ensure the planters are at a convenient height for watering and maintenance.
Step 4: Creating the Layout
Arrange the hanging planters in a visually appealing manner. Mix and match different plant colors and textures to create a vibrant and harmonious garden display.
Step 5: Maintenance
Regularly water and fertilize the plants in the hanging planters as per their specific needs. Prune and trim the plants to maintain their shape and encourage healthy growth.
Benefits of Hanging Planters
- Maximize space in small gardens
- Add vertical interest to your garden
- Create a lush and green environment
- Easy to maintain and access for watering
Conclusion
By incorporating hanging planters into your garden layout, you can create a stylish and functional outdoor space. Experiment with different plant combinations and arrangements to personalize your garden and enjoy the beauty of nature right at your doorstep.
Start designing your garden with hanging planters today and transform your outdoor space into a green oasis!